How many photos have you taken with your phone this week? This month? Since you had your phone?
Chances are, it’s too many to count. So what do you do with all these photos on your camera roll and how can you organise the mess? Instead of increasing the internal storage on your phone with every upgrade so you don’t lose all the memories, get them organised.
I’ve collected 7 suggestions for you on how to do that.
7 tips how to organise your phone photos
Let me start by saying that while all these suggestions are easy to do, they will take some time. So be realistic with the fact that it will be a process to get your photos organised. The easiest way forward is to create a habit around “phone photo hygiene”.
1. Delete, delete, delete
Make friends with that delete button! Don’t be scared! You can select a number of photos and batch delete them, rather than go through them one by one. Makes it so much easier to clean up.
Do you need 10 images of the same scene? No, you don’t. Keep your favourite. Maybe 2 but that’s it. Take away until you’re left with only the images you really need.
Things to delete: blurry photos, duplicates, ex-boyfriends, screenshots and reminders of something you found online that you wanted to look up but know in your heart you never will.
Go to the beginning of your camera roll. Long scroll, ey?! All these old photos that have been on your phones since you had your first smartphone – do you still need them? All of them? Be brutal and delete what you don’t need!
2. Pick your favourites
Right, now that your camera roll is a little less heavy, pick your favourite photos. Your phone album has a little heart button on the bottom of the screen. It’s basically like Instagram… Click the heart and you can instantly find your favourite in the “favourite” album on your phone.
I personally use this to mark images that I need to access a lot – like headshots or photos I know I’ll need to find quickly. How you use this function is completely up to you.
3. Group your images in albums
Once you’ve thinned out your camera roll, create albums under the “My Albums” section to categorise your images. You could do that by event, person, month, location… Really it’s totally up to you and how you like things organised.
You could even prepare albums ahead for when you’ll need them. Is there a vacation planned? Create an album. Summer holiday entertainment? Create an album. Birthdays, first day of school, graduation… Whatever it is, make it easier for your future self to segment your photos into categories ahead of time.
Same goes for videos as well. You could create separate photos and videos of the same category or keep them together – whatever works best for you.
4. Back it up
I’m sure this isn’t new to you but phones break, get stolen, land in the loo… And if you haven’t backed up your phone, you’re not just losing all your contacts but potentially lots of photos and videos.
There are lots of different online storage options. The most popular are probably Google Photos, Apple iCloud and Dropbox. But really, whatever works for you will do. Just make sure you keep backing up all those photos from your camera roll.
5. Search and select
Have you lost overview over your camera roll? Try and use the “search” option on your phone. Your smartphone might have already grouped images in order to help you navigate the amount of data on your phone but you can basically search for things and see what you find that way. Like a trip to Scotland. Or a birthday. See what comes up and batch move your images to a new album.
6. Create a clean-up routine
I get it, we’re all busy. But the longer we wait to do a tedious task, the worse it’ll get. Because how many photos do you take a day? That’ll all add up to that one day when you decide to finally clean up your phone.
Don’t wait, do it now.
Your routine:
- Weekly: Delete photos that don’t light you up when you see them. And favorite the ones that do.
- Monthly: Group photos in albums – by location, by event, by person or whatever works best for you. Then back these photos up on Google Photos or you iCloud or whatever online storage you prefer to use.
- Yearly: Go into your albums on your phone to create real physical albums and prints from your favourite images for yourself or as gifts.
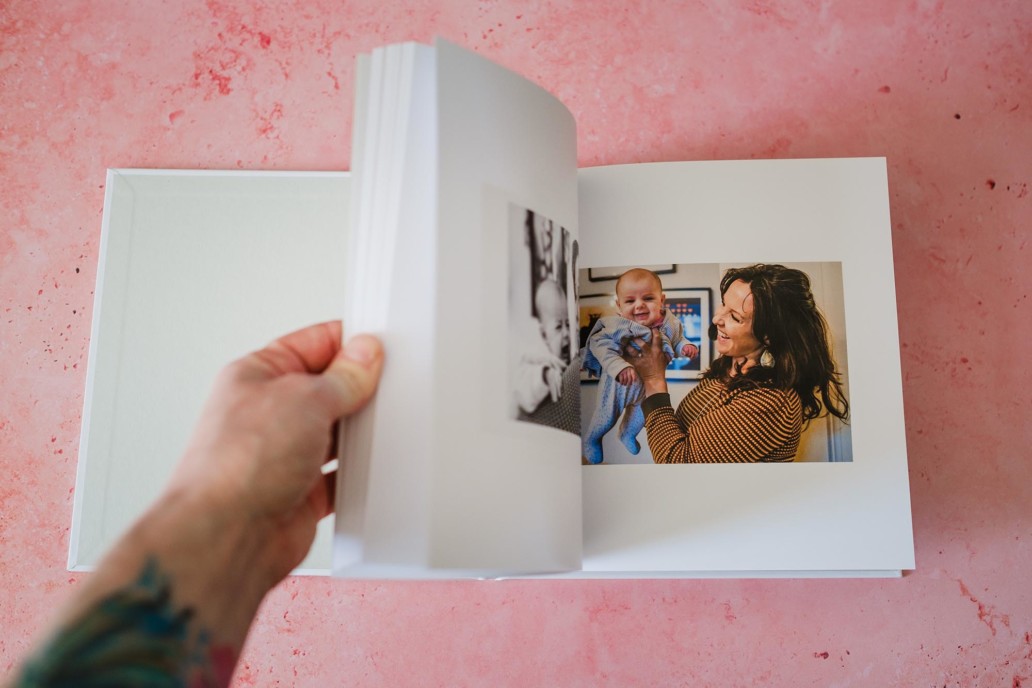
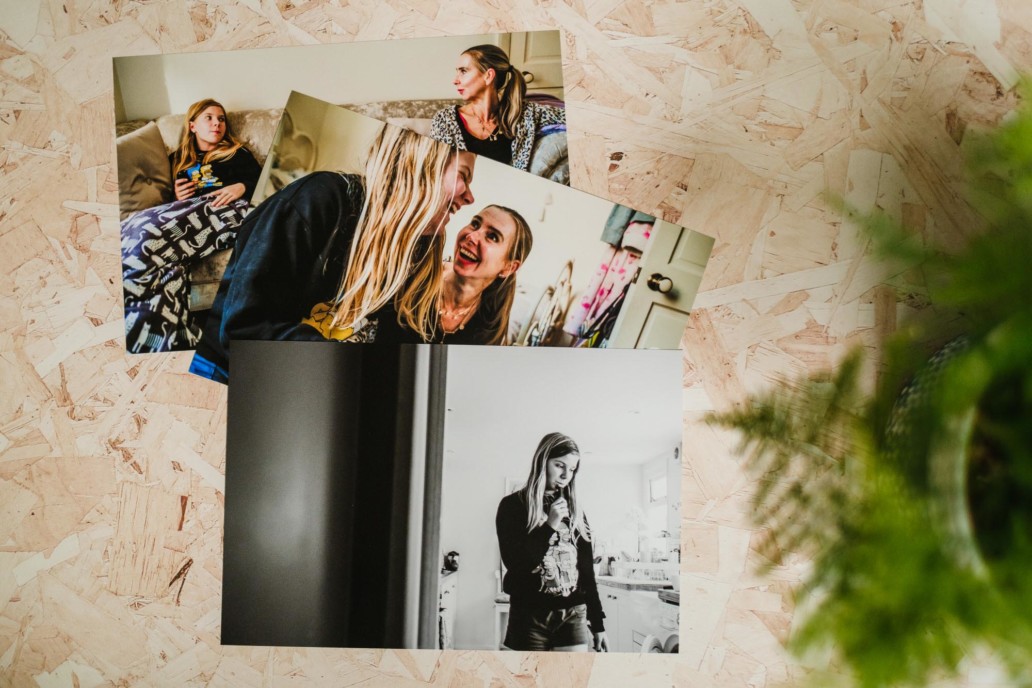
7. Print them
This last one doesn’t actually help you clean up your camera roll but I wanted to mention it anyway. It’s like the final result of organising everything and getting a tangible reward for all the hard work…
If you’ve been around here for a while, you’ll probably know that I’m a big fan of printing your photos. Not just the ones you had taken professionally but any image that means something to you.
Tangible products have a much bigger impact than a digital file. It’s your choice whether you want your images in an album – like a yearbook – or create your own gallery wall, a yearly calendar or some new photos for your office desk. Print as often as you can afford it and fill your home with those memories of your life! So once you created your albums and favourited your images, it should be reasonably easy to pick the ones you’d like to display in your home.
And if you’re overwhelmed with designing an album, there are one-click-services that do all the work for you. You could also get in touch with me and let me design your next family or holiday album. You don’t have to book me as a photographer for this. All you need to do is send me all your images and I’ll get to work for you.

I hope these tips were helpful and inspired you to go through your phone photo gallery. If you have thousands of thousands of photos, please be kind to yourself and don’t expect to clean up your camera roll within a day – or even a week. Set aside some time during the week to go through the images without rushing. Do it on a Friday afternoon or a Wednesday morning or whenever you feel like you can carve out 10 minutes to make a start.
What next?
Did you get to clear out your camera roll? Fantastic!
Now the next step is to get your favourite OFF your phone (and also off your computer) and into your hands – as I’ve mentioned in point 7. I’ve got a bunch of traditional and creative ideas on how to make the most out of your best images. Leave your details below to find out what these are!