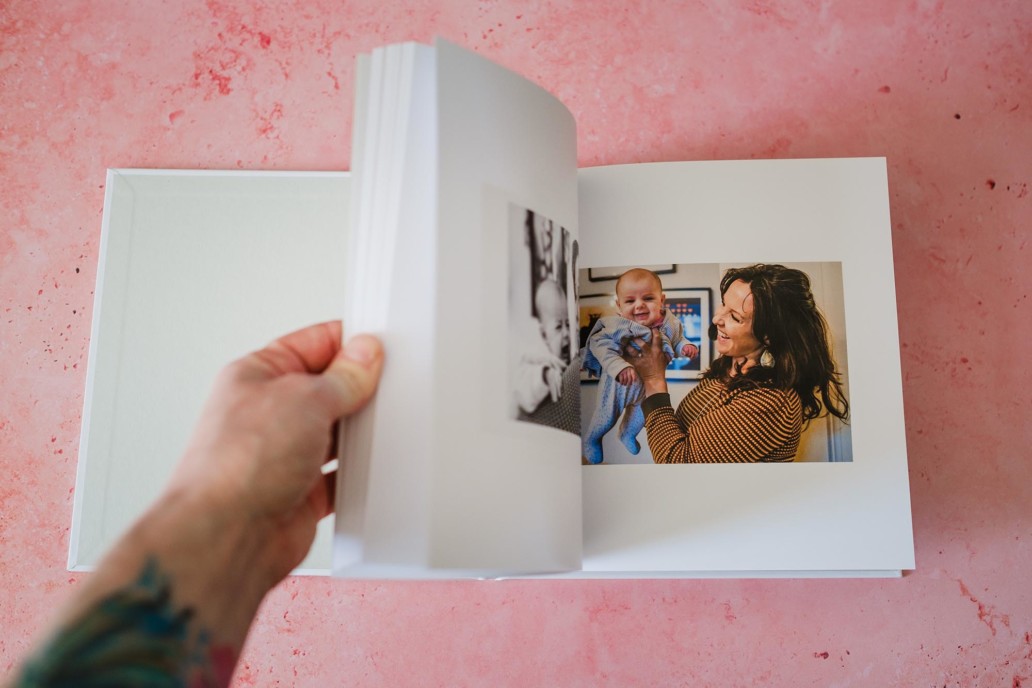
Unless you’re new around here, you know how much I LOVE printed photos – as loose prints, framed or in albums. But I also know that there are plenty of providers online and it’s hard to know which one to choose.
All my family photography collections come with a print credit. That credit can be used in the shop that is attached to your online gallery and gives you the option to buy a variety of print products to make sure your photos don’t just live on your devices or the cloud.
The credit covers at least a few fine art or matted prints. Your credit differs depending on your package, so the bigger your collection, the higher your print credit. But you also receive a personal print license with every image you purchase from your gallery (my 3 collections come with a different number of digital files included) which means you can print those photos at any lab you like.
I understand that my professional labs that supply products in my gallery shop are not in everyone’s budget and to me, it’s more important THAT you print your photos than having them printed through me.
So let’s imagine you went for my middle package, The Storyteller, which comes with 15 high-res files along with a £200 print credit. You can spend those £200 however you wish (in the gallery shop) and take the 15 high-res files that you downloaded to any other lab to print further copies.
But which lab is the best? Or the most affordable? Or the most convenient?
I did a test with 5 labs along with my professional lab to give you an overview of how I rate them. The labs I tested are My Fujifilm, Saal Digital, Snapfish, Photobox and Boots instant printer. No two labs printed the same and each had different things I liked and didn’t like.
A few notes before we dive in…
All images were printed in 5×7” because that’s a nice medium-sized format I personally like ordering for myself. However, all my images are in a 3:2 which technically asks for a 7.5×5” print. Consumer labs don’t always give this option so I had to choose the crop on each order to decide where my photos would be cut to fit the 5×7” paper. This is important if your print size does not match the original photo format.
A very typical print size is 8×10” which is a lot more square than 3:2. So when printing, always pay attention to how your image gets cropped! Most labs tell you when images are cropped and ask you to confirm the automatic setting.
With all labs, I unticked the option to colour-correct the photos before printing because all my photos are edited to be print-ready. Using the colour optimisation for any lab can cause a different result so please bear that in mind.
It proves quite hard to photograph edited images to look true to colour so not all photos below may show “accurate” colours as they are in real life. The photos look different from every lab and in isolation, most of them are pretty good – but once you compare them to each other, differences become more obvious.
So let’s get into it…
Photo lab comparison
My Fujifilm
I had never used this lab, despite being a huge Fujifilm fan (in terms of cameras). It’s been recommended to me – I had high hopes for this one just based on the name.
The ordering process was relatively straightforward. When picking your images and the sizes, you can choose between glossy and matt which are the standard options. I don’t like glossy photos so chose matt.
On checkout, the website asks you to create an account. This comes down to personal preference and I wish I hadn’t had to do that but it’s not a big deal. If you plan on ordering with them again it’s actually convenient because it means you don’t have to fill in all your address and payment details again in the future. The time between ordering and delivery was only 3 days so it’s a very quick process which is awesome for the need of a quick turnaround.
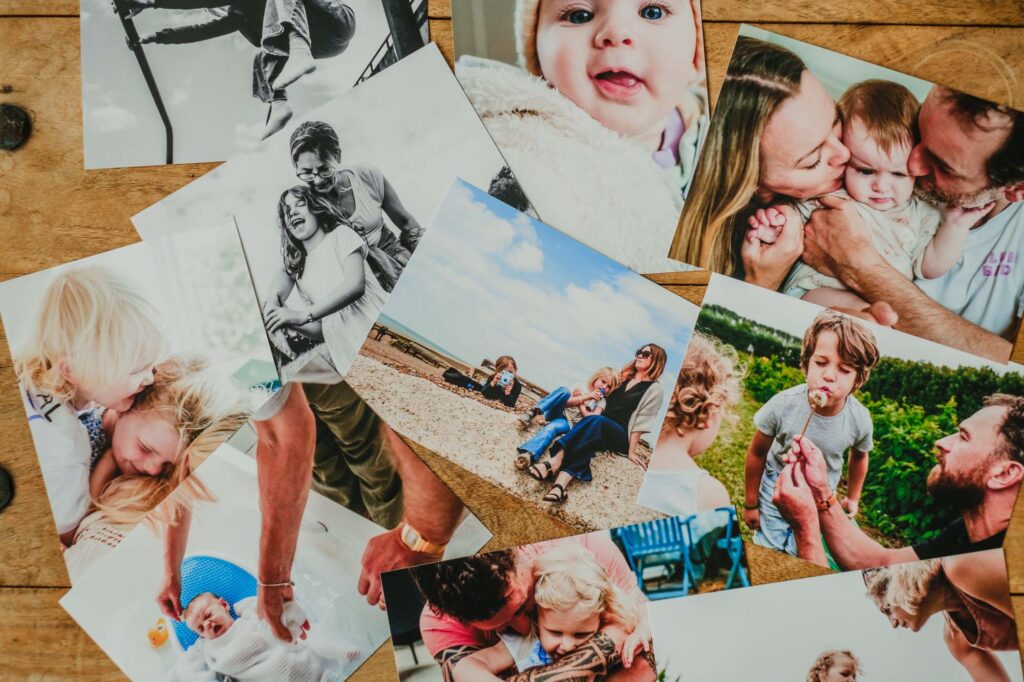
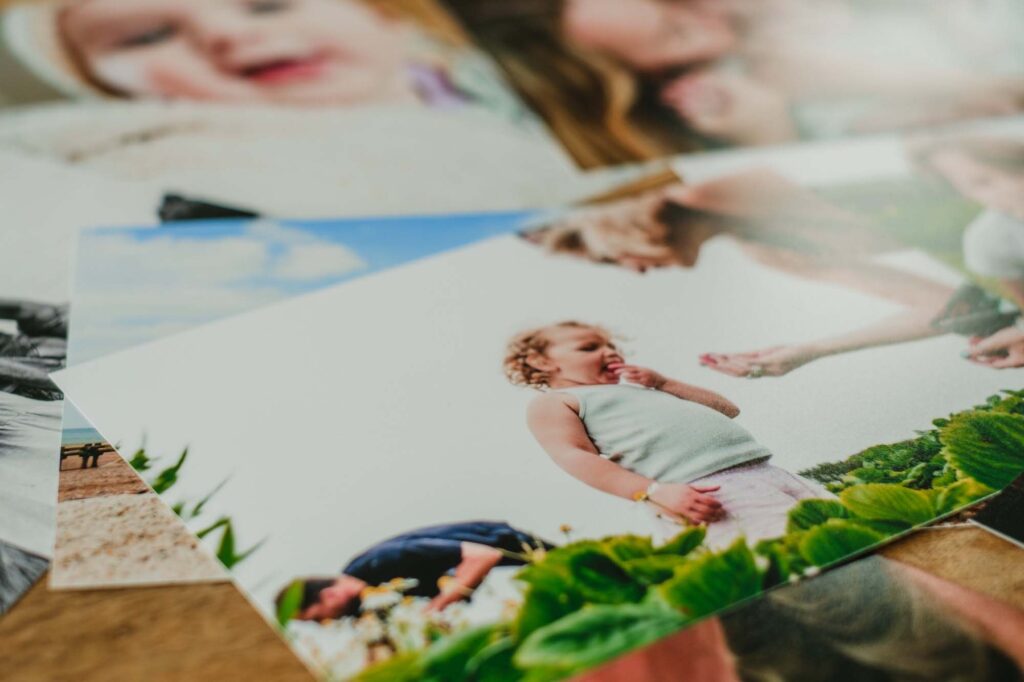
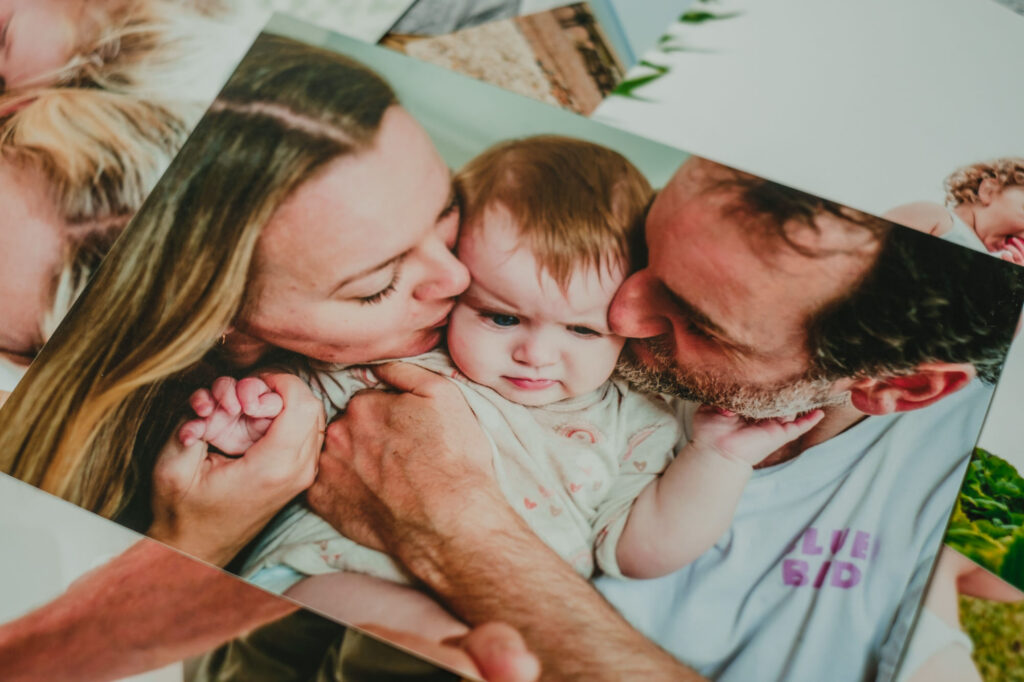
When I got the order, I noticed that the paper felt very nice. However, the black and white images have a slight blue tint and the colour photos are a bit too magenta in comparison to other labs.
The cost per image was £0.35, the delivery was £3.99. In total, I paid £7.49 which seems to be around the average across the labs I tested.
Snapfish
I found this lab just through a Google search and randomly picked it because it ranked well online. I hadn’t used them before and had no expectations.
As a big online lab, they run promos and at the time of using the service, they offered me 20 free 6×4” photos when I created an account with Snapfish. I haven’t made use of the offer but it’s handy if you want to print lots of images small on a small budget. The lab creates an account automatically on order which means whether you take them up on their offer right away or not, you will have this special deal with 20 additional free images no matter what, for as long as they run this promo.
During the ordering process, I could again choose between a matt or glossy finish – I chose matt.
When I got the prints, which like My Fujifilm took only 3 days from ordering to delivery, I noticed that the paper itself was a bit smaller than all the other labs. The measurement was a bit off from 5×7”.
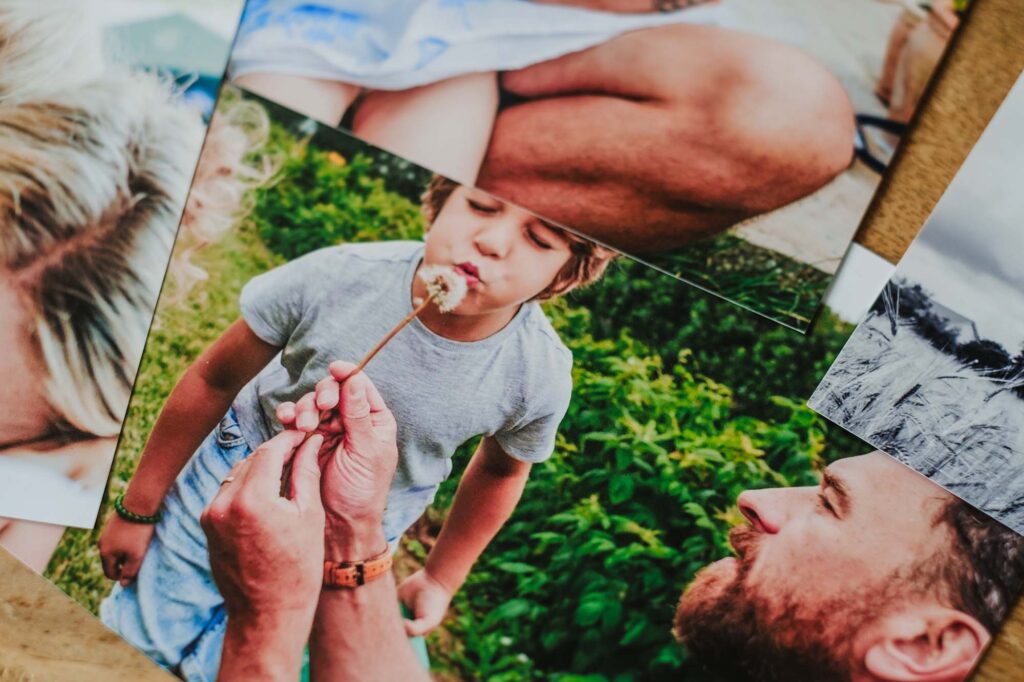
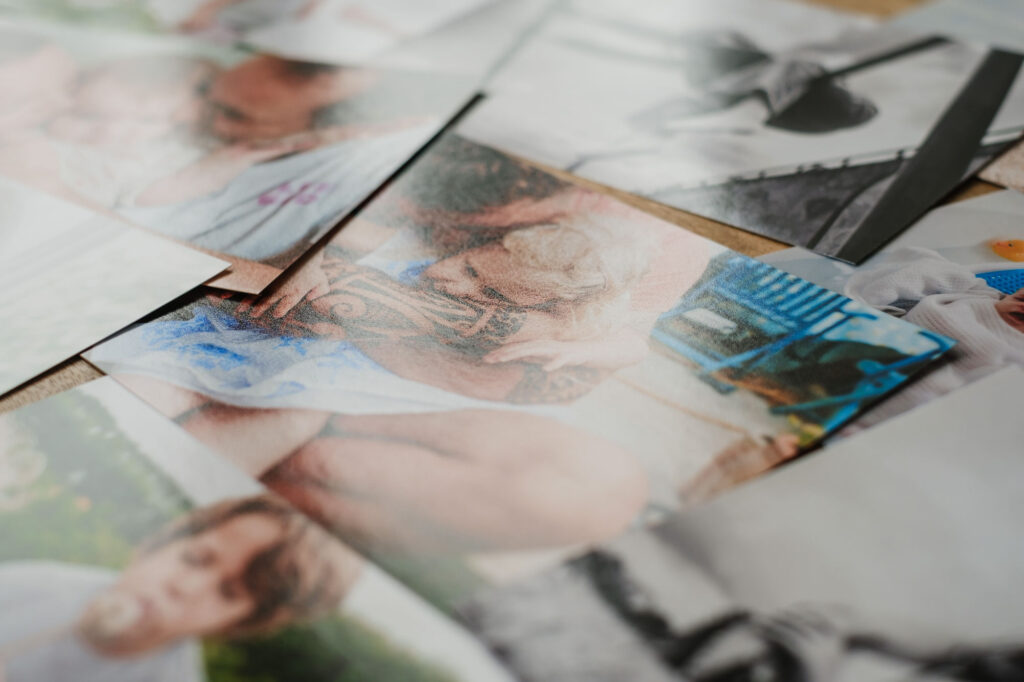
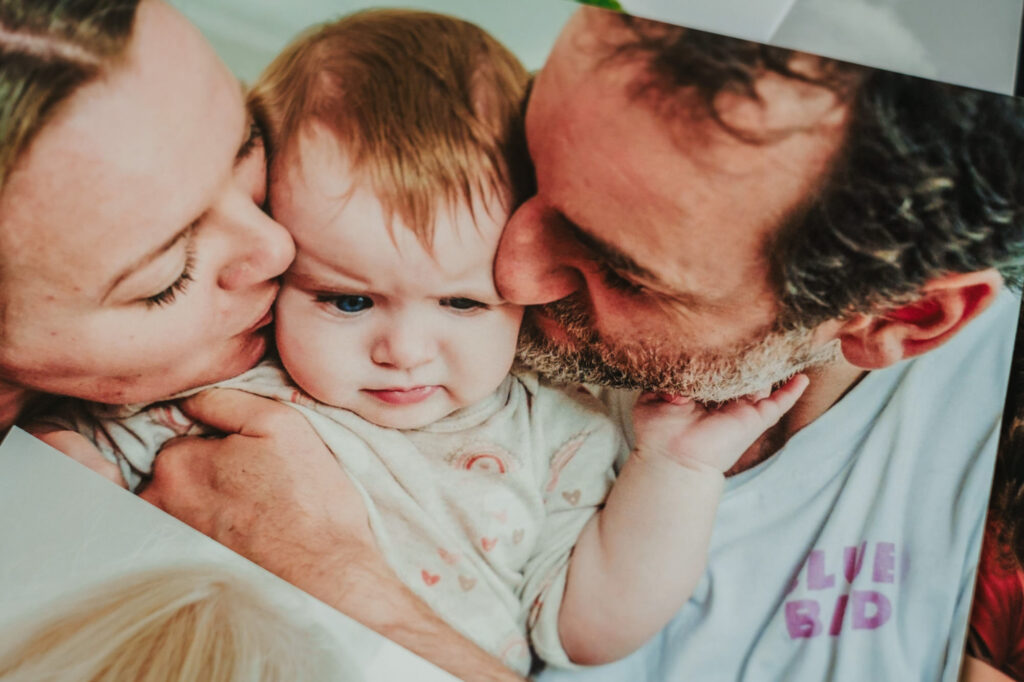
The black and white images had a slightly cooler tone and a subtle blue tint, just like My Fujifilm. My black and white images have absolutely no colour left in them, so any colour tint is a lab issue and does not come from the edits.
The tone, contrast and saturation on the colour images were pretty good. Considering this was the cheapest order and lab, I was quite surprised and happy with how they turned out.
The cost per image was £0.12, the delivery was £1.49. In total, I paid £3.59. I do have to say that especially with such cheap prints, I assume that the paper might bleach a lot quicker than with other labs over the years.
Photobox
This too came as a recommendation to me from a friend who prints a lot of her images (makes my heart very happy!). Again as with the other labs before, I could choose between glossy and standard paper. I assumed standard meant matt so I chose that. If you prefer a glossy finish, be aware that Photobox charges more for that.
The turnaround time for this one was only 2 days which I found very fast. Overall, the prints looked good, the quality of the paper and the details were good. But the black and white images have a slight green tint. Again, the image itself had no colour so any colours on the paper would come from the lab and how their printers are calibrated.
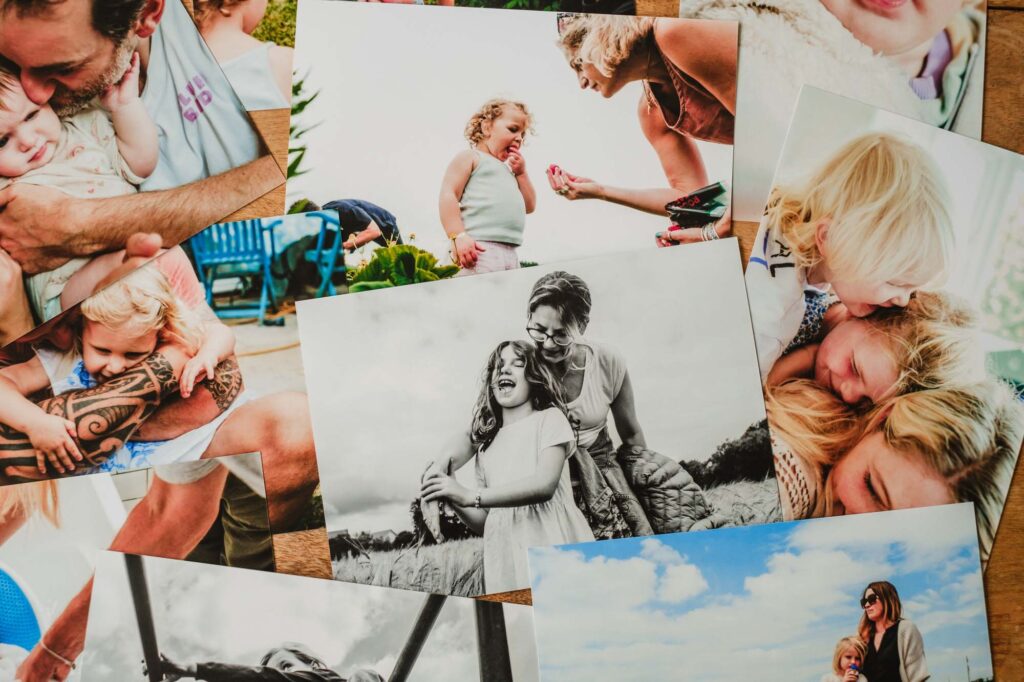
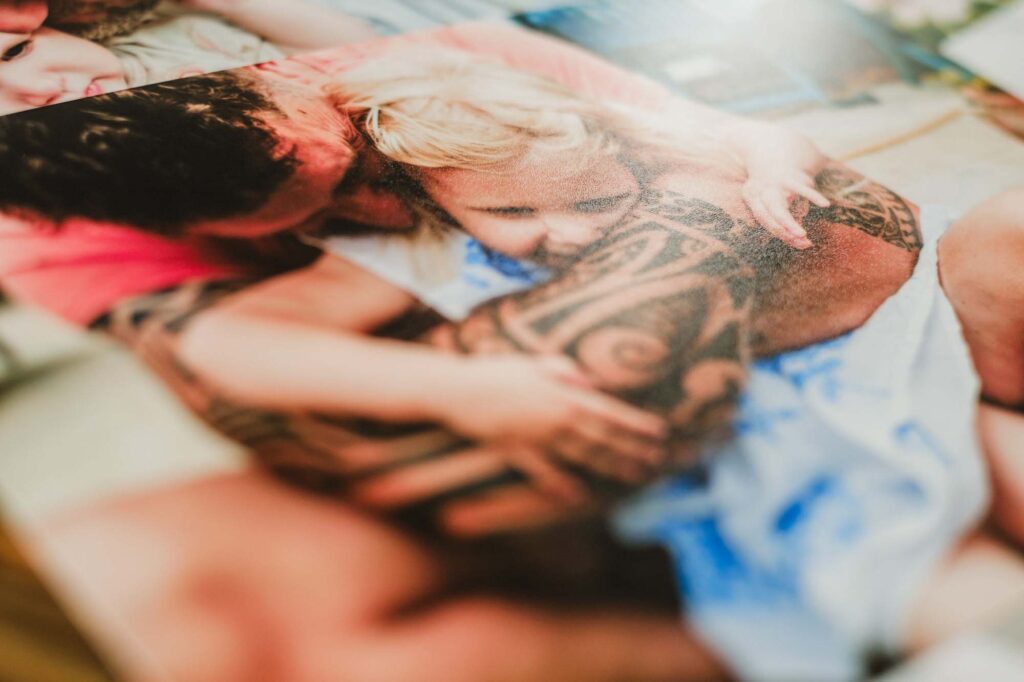
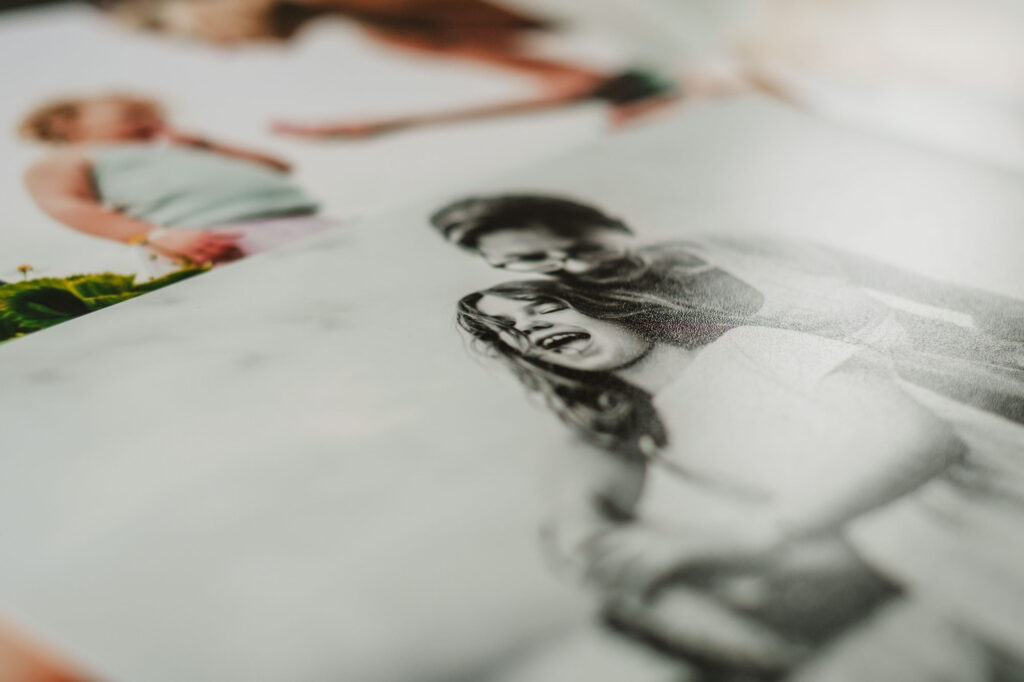
Each image cost £0.28 regularly but the website had a 50% deal going which meant I only paid 14p per photo in the end. The delivery was £3.99 and the full price came to £5.39. Without the offer it would sit in the mid-range for all the labs. Thanks to the offer, it was one of the cheaper orders.
Saal Digital
I do have to disclose that this is my favourite consumer lab so I might be slightly biased but don’t let that affect you, please 🙂
Saal Digital is a German lab that I’ve been using for over 15 years. They have a UK branch so all orders come through a UK website and payment is done in Pound Sterling. The prints do come from Germany though.
This lab lets you choose between a glossy, matt and silk finish. They also have some fine art papers as well which I’ve tried in the past. For this test I chose silk – because that’s my standard. It is a bit more expensive than matt though.
Again, I turned off image enhancement because the photos were edited to be ready for print already.
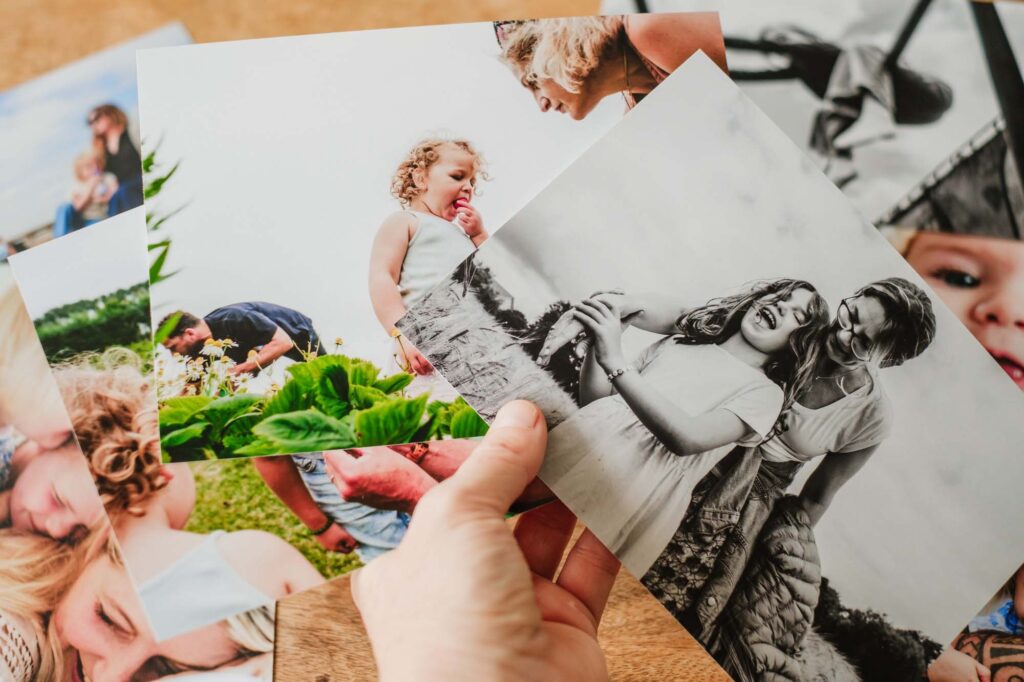
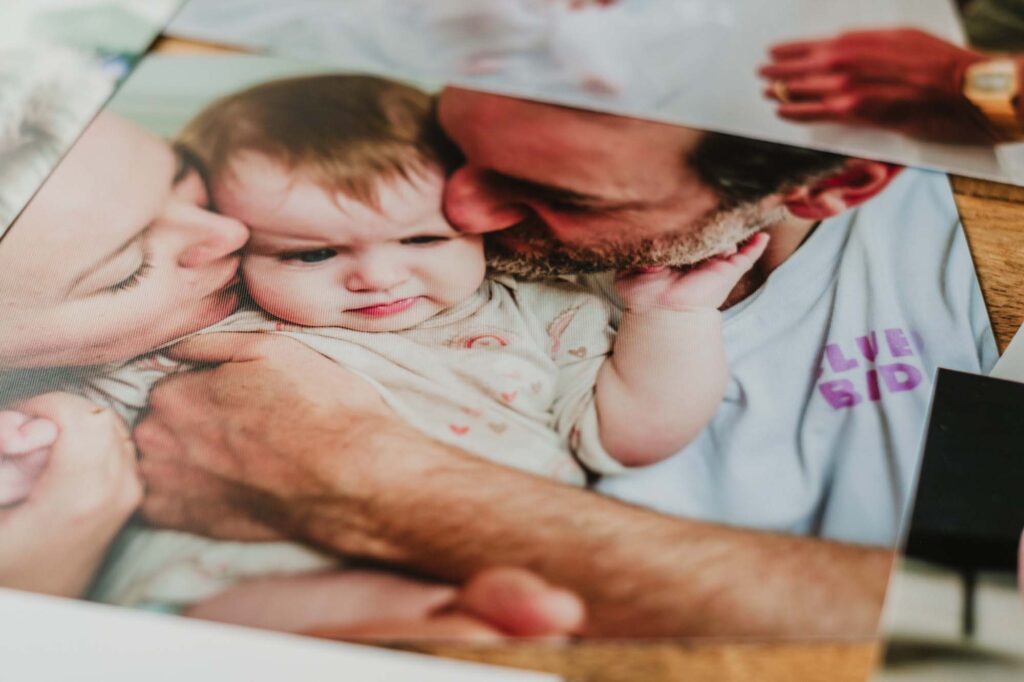
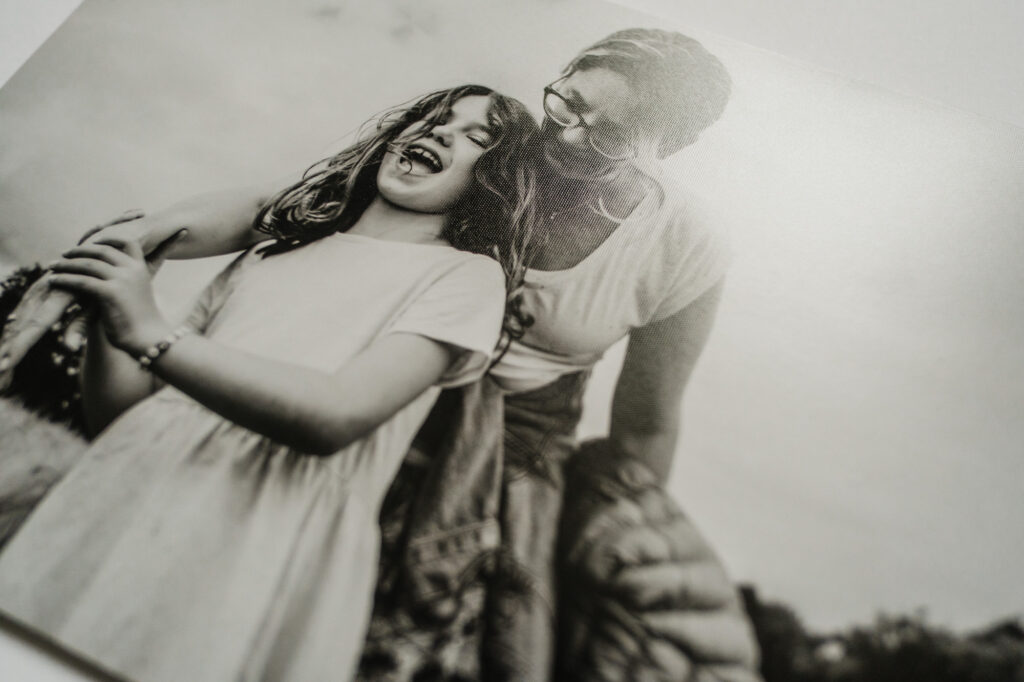
I personally think this is the best quality you can get from your photos when choosing a consumer lab. There is a reason why I’ve trusted them for over 15 years. The paper is nice, the detail, colours, contrast and finish are absolutely fantastic. But since it’s a German lab, not many people know of them as an option – they’re kind of a secret. They’re the most expensive lab I tested (apart from my pro lab of course).
The cost per image was £0.47 (£0.34 for a matt or glossy finish), shipping was £6.99 and in total I paid £11.19. The turnaround time was only 3 days though so just as quick as the other labs.
Boots: Cewe instant photos
Just for comparison and because instant prints are convenient, I tested Boots instant printer which is run by Cewe. You can’t choose your paper but you can choose your photo size and crop, of course. It’s pretty quick and easy and wins when it comes to convenience. But you pay for that!
Each image cost £0.60. There’s no shipping so the total came to £6 which is just below average overall in comparison.
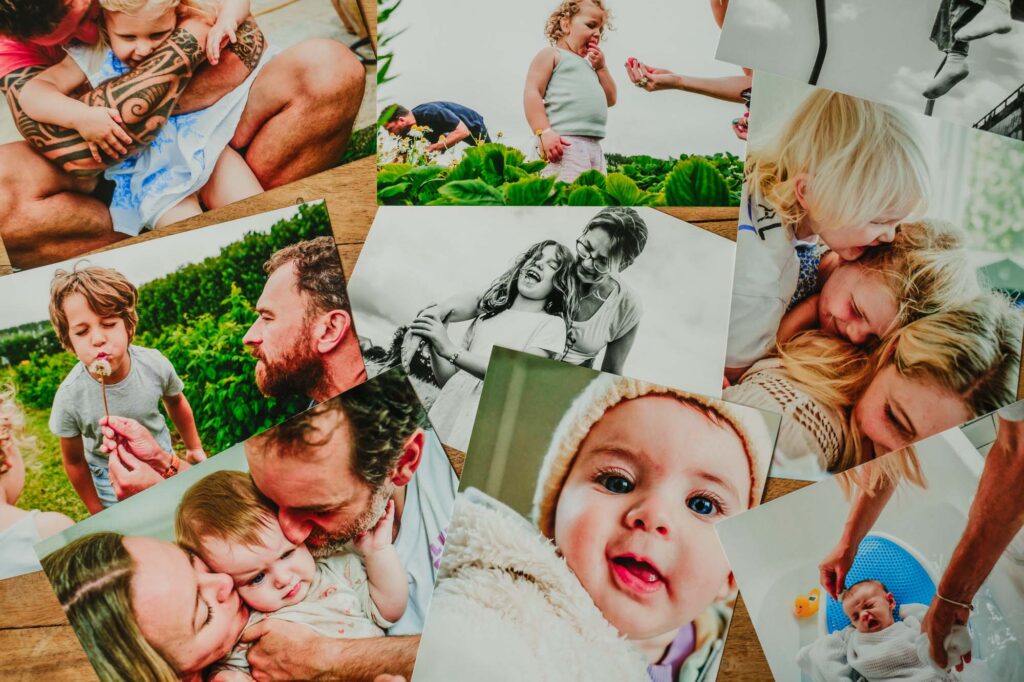
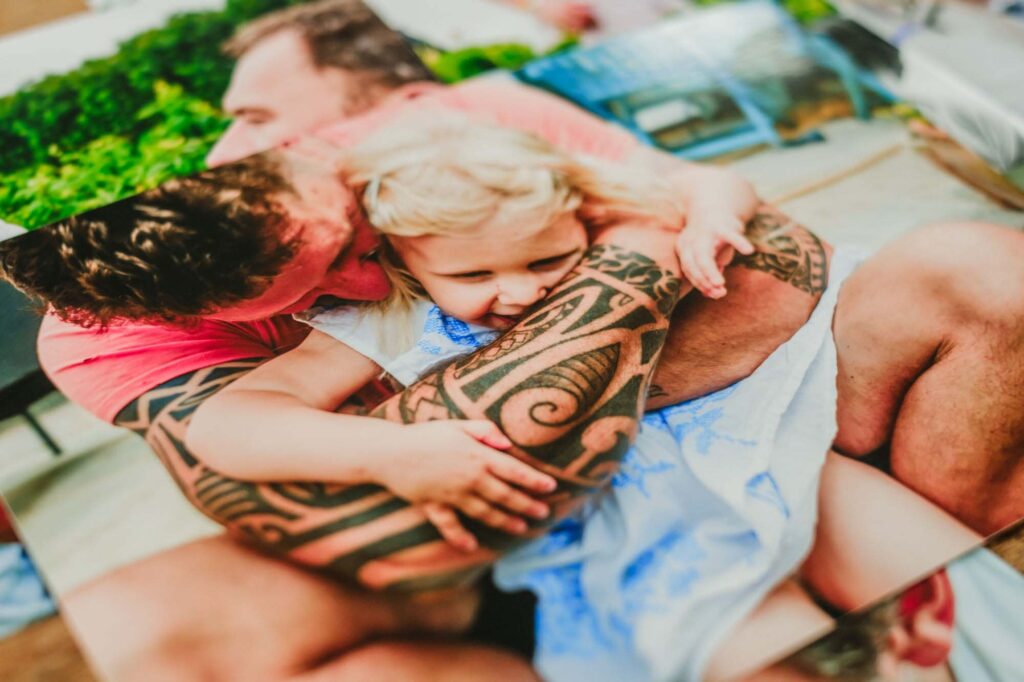
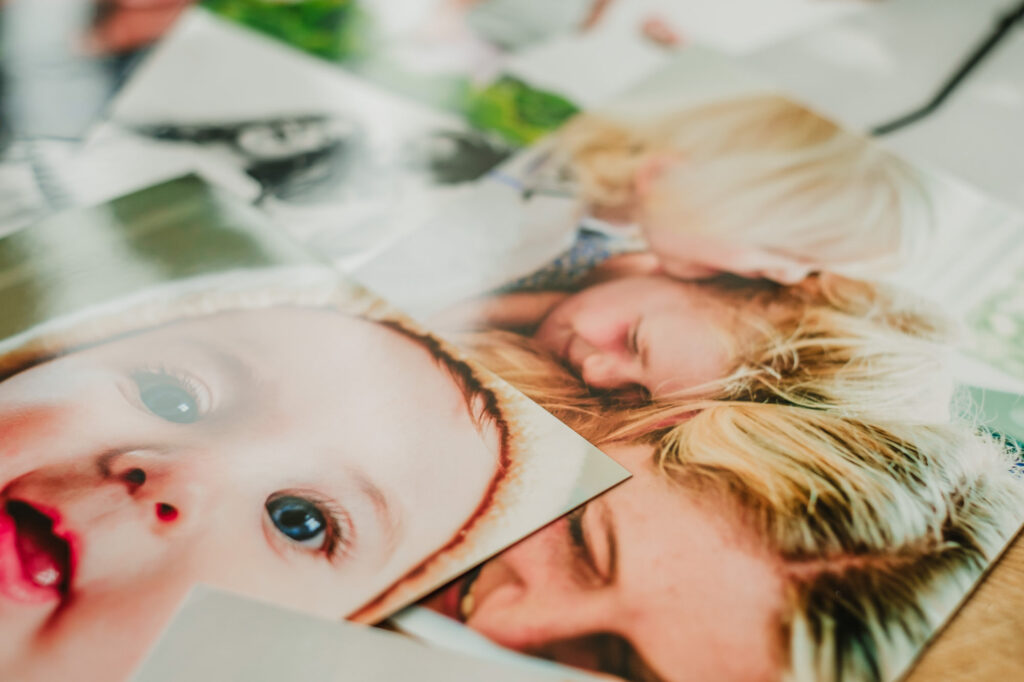
However, the print quality is rather poor. The images look over-sharpened, oversaturated, have a slight magenta to it and the paper is very thin. You really pay for convenience, not for quality.
I would recommend them only if you need photos right now – if you can wait a few days, stay away from them. They’re not worth it and I suspect the colours will fade the quickest out of all the labs, over time.
Professional lab
I printed all photos with my professional lab as a comparison to see how the images look next to the other labs. This is not exactly a fair comparison – I do want to point that out!
These images were printed on 100% cotton fine art paper (300gsm), with a smooth matte surface and museum-grade quality. I didn’t choose a “regular print paper” which they offer too – instead I opted for the type of print you would get if you order images through your online gallery shop after your session with me.
What I love about these prints is that the paper is nice and thick. There’s no sheen or shine on the images so they appear a bit flat but this is what I’m going for. If you put these photos in a frame with glass, you already get a glare from the glass but there’ll be no other light reflection apart from that. Depending on the frame/glass quality, you can almost control how much reflection you’ll get.
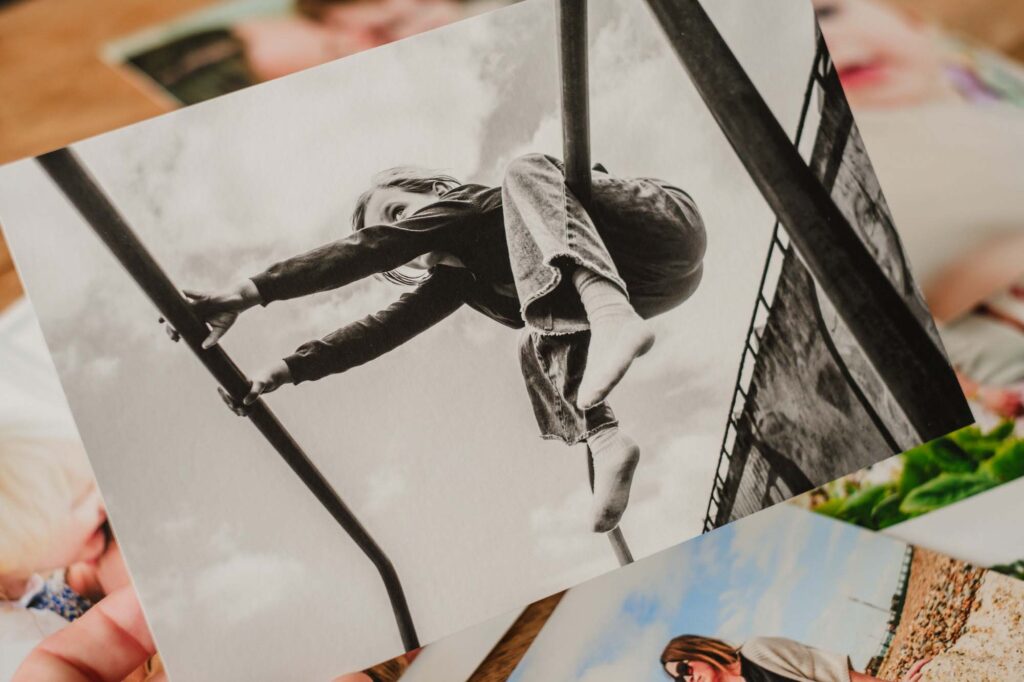
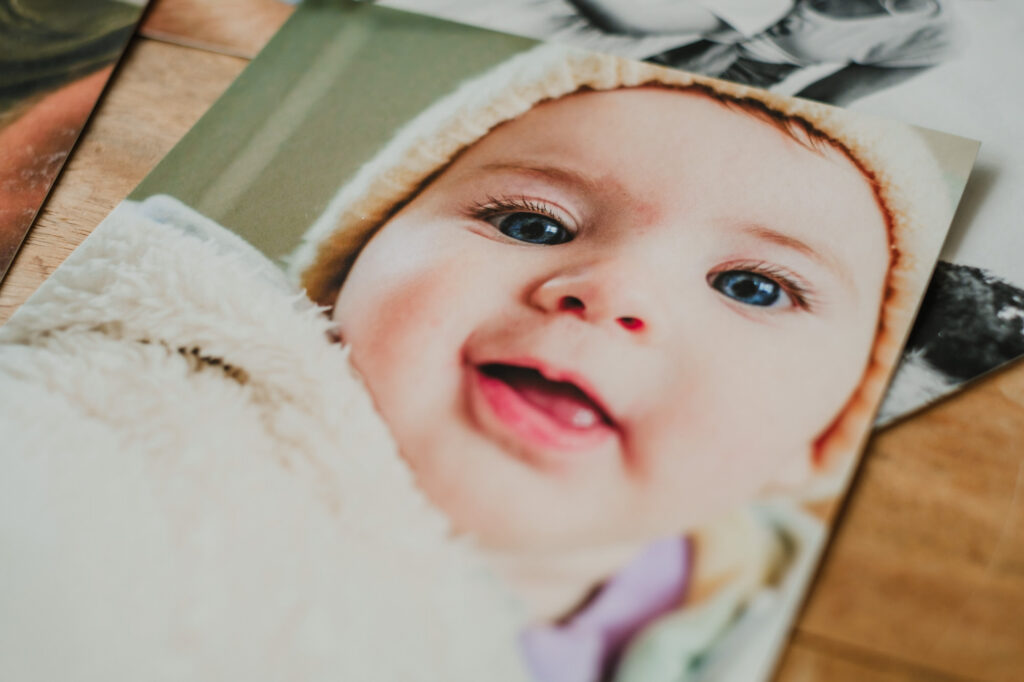
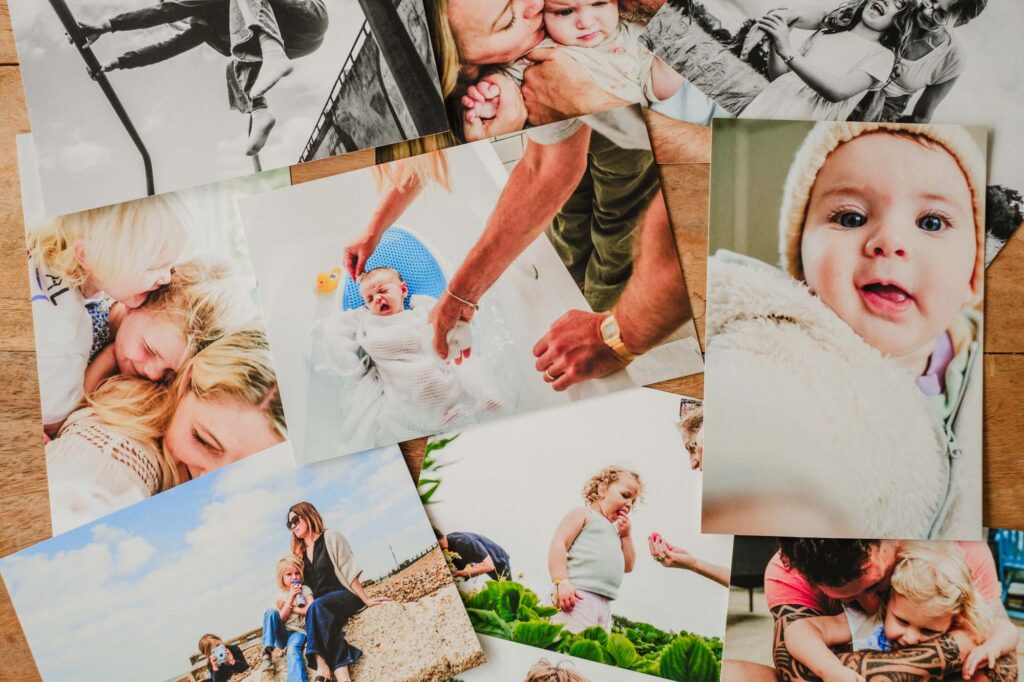
I do have to note though that these prints came out warmer than expected which is down to the paper I chose. It turned out that I picked the “wrong” paper and they aren’t a actually the same as my clients get when they order through the print shop via their photo gallery.
Despite being a bit warmer than planned, these images look amazing and are in no way comparable to the other labs. The texture and feel is so much nicer.
Conclusion
Unsurprisingly, nothing beats the amazing quality of a professional print. But I also understand that that’s not always realistic. Sometimes we need a quicker and more budget-friendly option which is where consumer printing labs come in.
I actually rotate images in my home across all my walls regularly and for those photos, I use a consumer lab (Saal Digital).
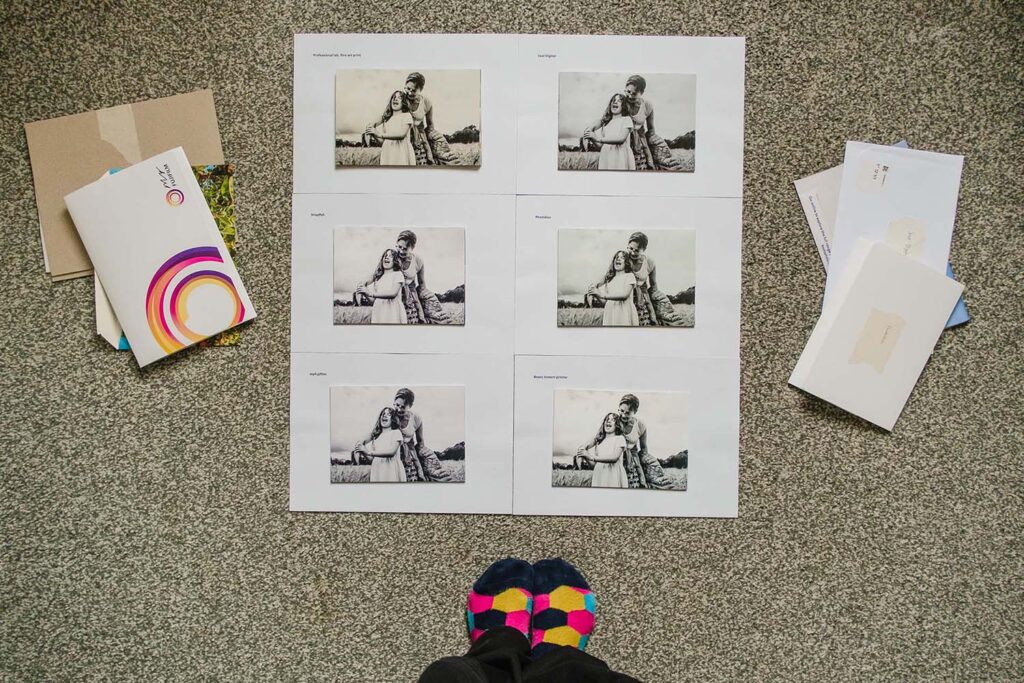
So here’s my overall rating for the labs I tested – I will not include the pro lab because I feel like that’s not a fair comparison.
Best image quality: Saal Digital
Best value for money: Snapfish (cheapest with decent quality) and Saal Digital (for higher quality needs)
Easiest ordering system: no winner, all similar
Best choice of paper and finish: Saal Digital
Fastest/most convenient: Boots instant print
Cheapest: Snapfish
Overall, I would and will always recommend a pro lab for your printed photos if possible. But Saal Digital is an excellent alternative that I’ll never get tired of mentioning. It’s the most expensive option out of the ones I tested but the quality is just outstanding and absolutely worth a few extra ££.
Second-best option would be Photobox when it comes to the print quality which is a little cheaper.
Basically, whatever you do, avoid any instant printers if you can. Most labs process, print and ship your order within just a few days and with a bit of planning, that should be doable for most of us. I hope 🙂
If you prefer any other labs that you think I should try, please do let me know. You can email me at anja@anjapoehlmann.com or connect with me on IG.
And if this post reminded you that you haven’t got any recent family photos that you’d like to decorate your house with, get in touch and let’s chat about it!
Ready to get your own family photos that you can print?
My inbox is open for you...
Let's talk


